

My Coach Office - Digital documents creation & signing
A concise guide to create, customize, and sign digital documents in My Coach Office, covering template creation, content personalization, client data insertion, drafting, previewing, publishing, and sending for signature.
 0
0Frequently Asked Questions
- How do I import a Word document into My Coach Office to create a signable document?
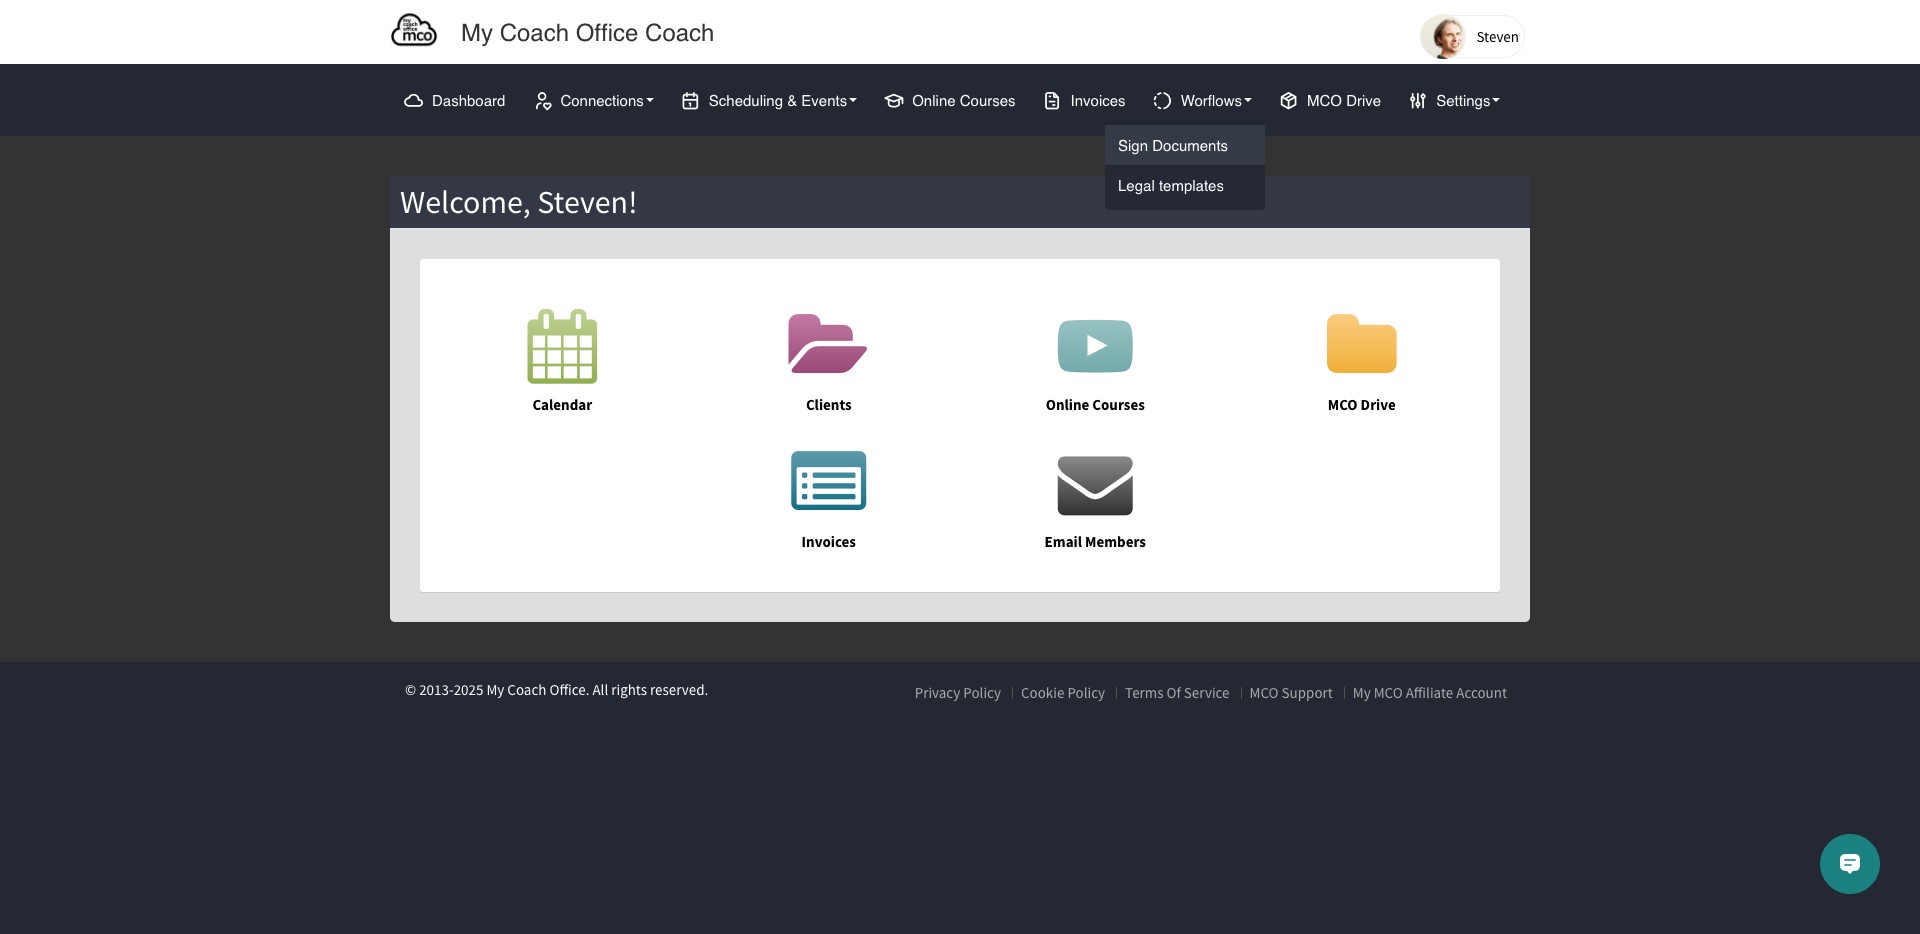
Go to https://app.mycoachoffice.com/, open the menu: Workflows → Sign Documents, then click Create New Document. Optionally select a language (for example English). Click Upload and Convert to import your Word file — its contents will populate the Content field. If you prefer, you can skip Upload and Convert and copy-paste the document text directly into the Content field.
- What are placeholders (like %CLIENT_FULL_NAME%) and when are they filled in?
Below the Content box there is a list of placeholders you can use (for example %CLIENT_FULL_NAME%). These placeholders remain in the template and are filled in at the moment the recipient signs the document.
- What's the difference between Save Template, Preview Version, and Publish Version?
Clicking Save Template creates a draft of the document. Preview Version lets you review the draft before publishing. Publish Version makes that draft the published document. You can continue to use the published version while creating and editing a new draft.
- How do I send documents and how can I track who signed them? Are there any sending limits?
Use the Send icon to send the document, then click Send Document. You can send to a single client, a group of clients, or a contact who isn’t a client. Click the green checkmark icon to see who has signed the document. You can also view who has already signed on the page before sending. Note: you can only send the document once for each document version; once someone has signed you can see the signer’s name and which document version was signed.
- What does the consent checkbox mean and can I use ready-made legal templates?
By checking the consent checkbox above Save Template you agree that My Coach Office (and its owners) are not responsible for the legal compliance of the provided template and that you should consult a legal professional to ensure the agreement meets all required legal requirements. My Coach Office also partners with AWB Firm, which offers ready-to-use legal templates (affiliate link with a discount). These templates can be downloaded and directly imported into My Coach Office.